> ## Documentation Index
> Fetch the complete documentation index at: https://installerguides.lunarenergy.com/llms.txt
> Use this file to discover all available pages before exploring further.
# MSA Controller Installation
MSA Controller requires [ConnecDER IslanDER MSA](https://connectder.com/products/islandder/) to be installed to function as a microgrid interconnect device.
## Installing the MSA Controller
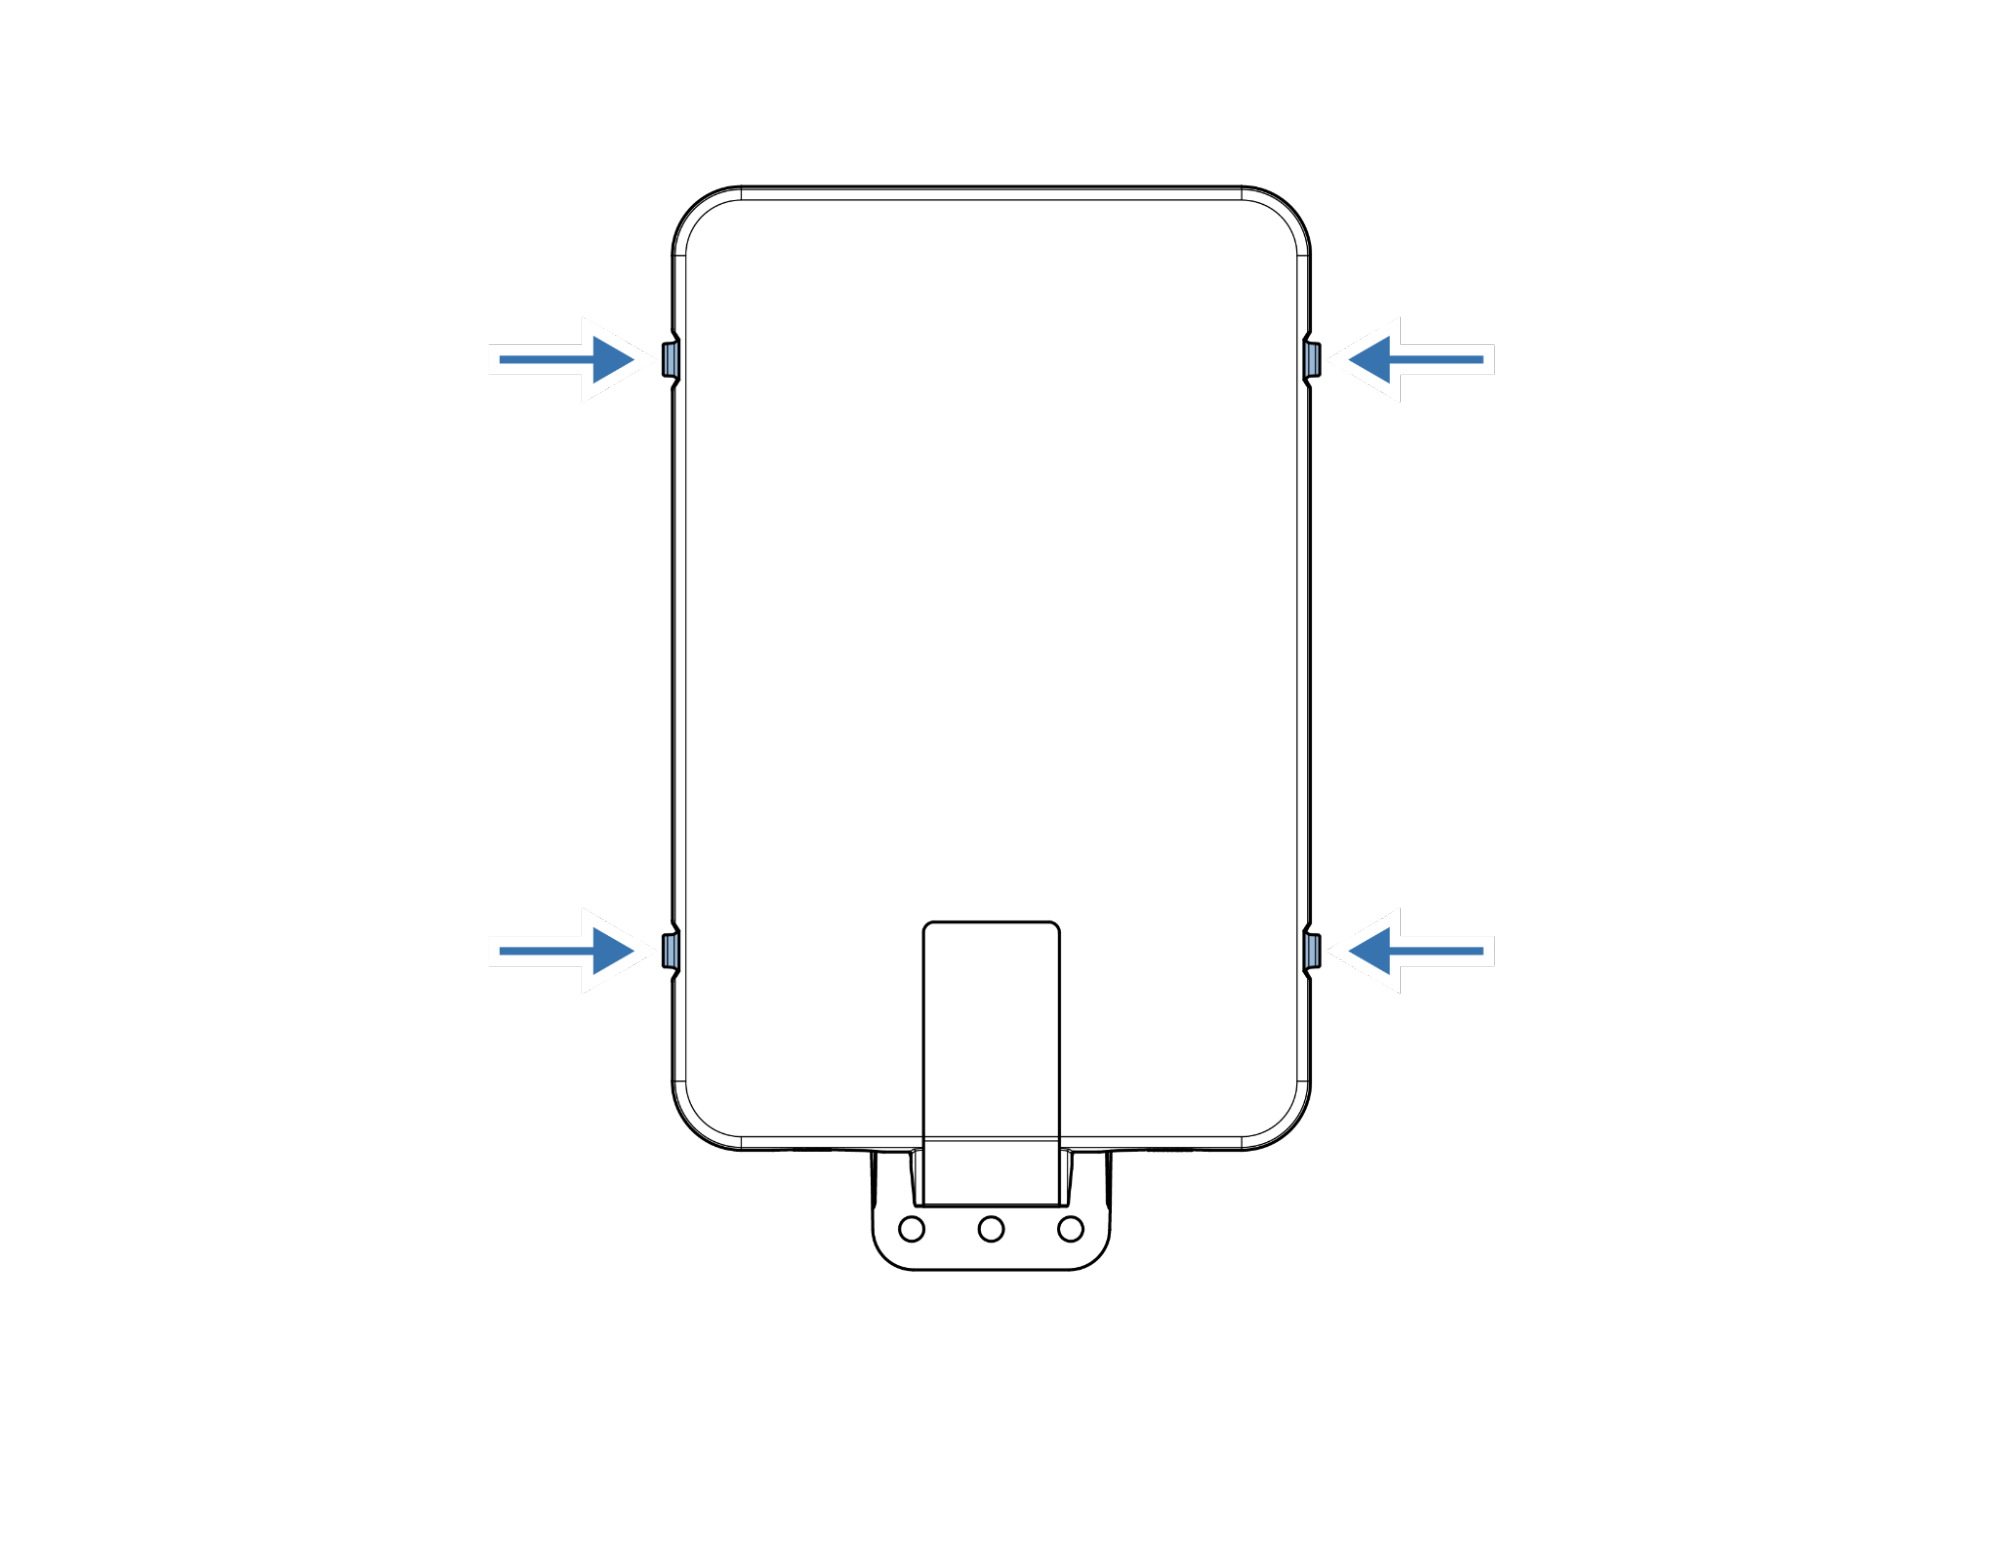
Lift on the 4 flex tabs located on the right and left sides of the cover and pull up.
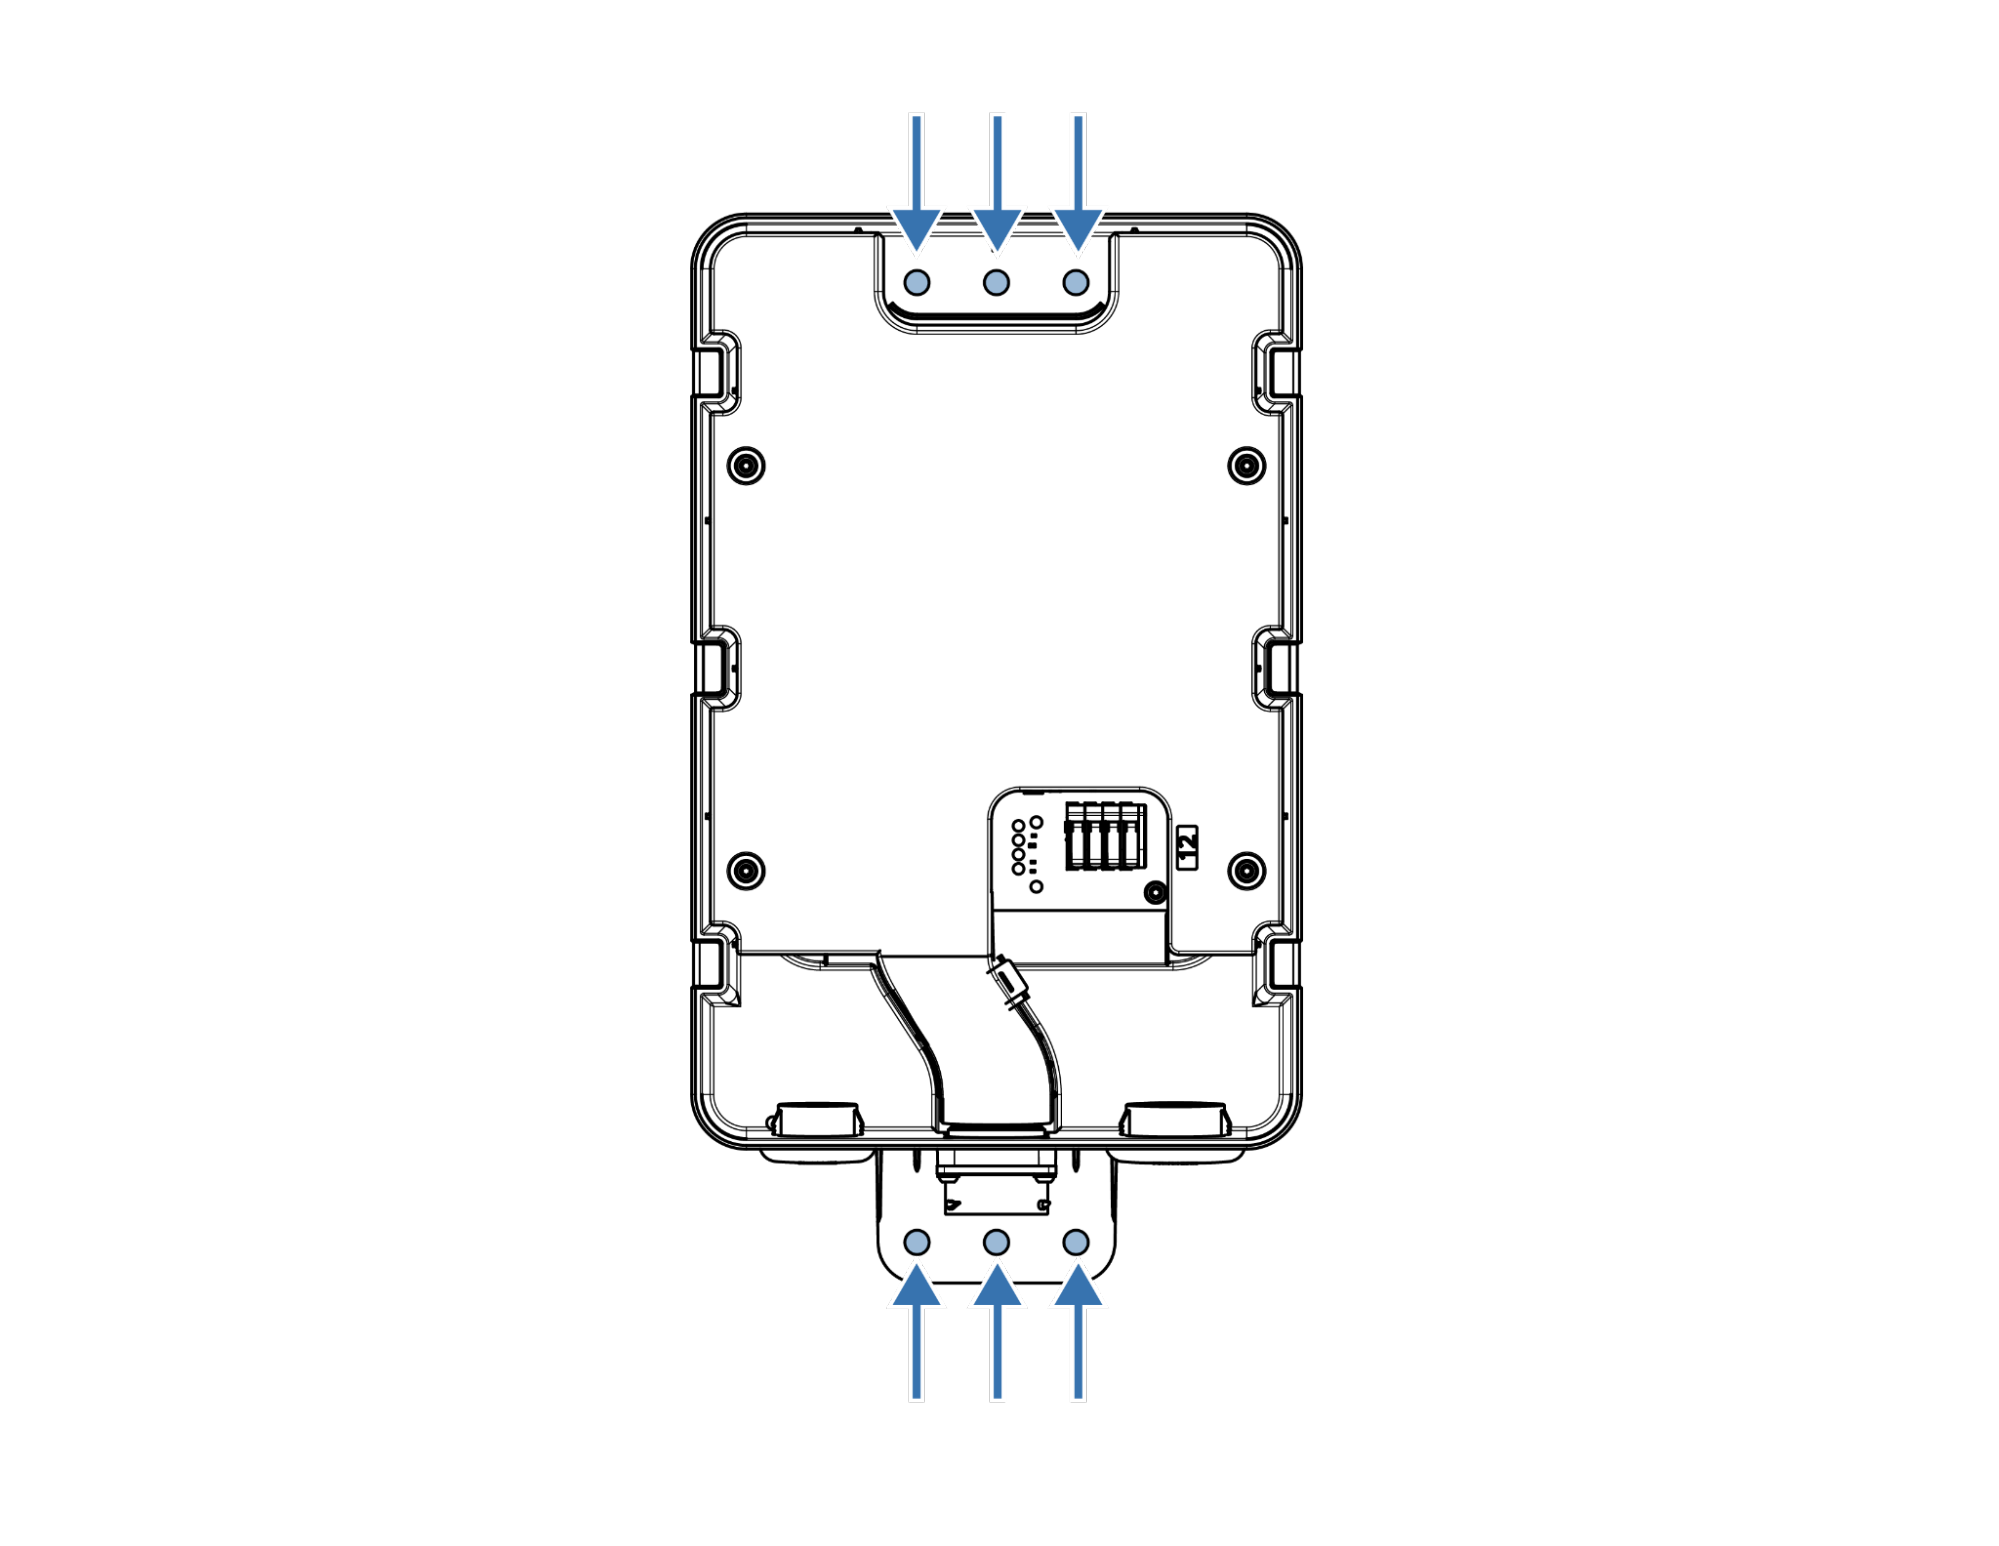
 Mount the MSA-Controller enclosure with 2x fasteners.
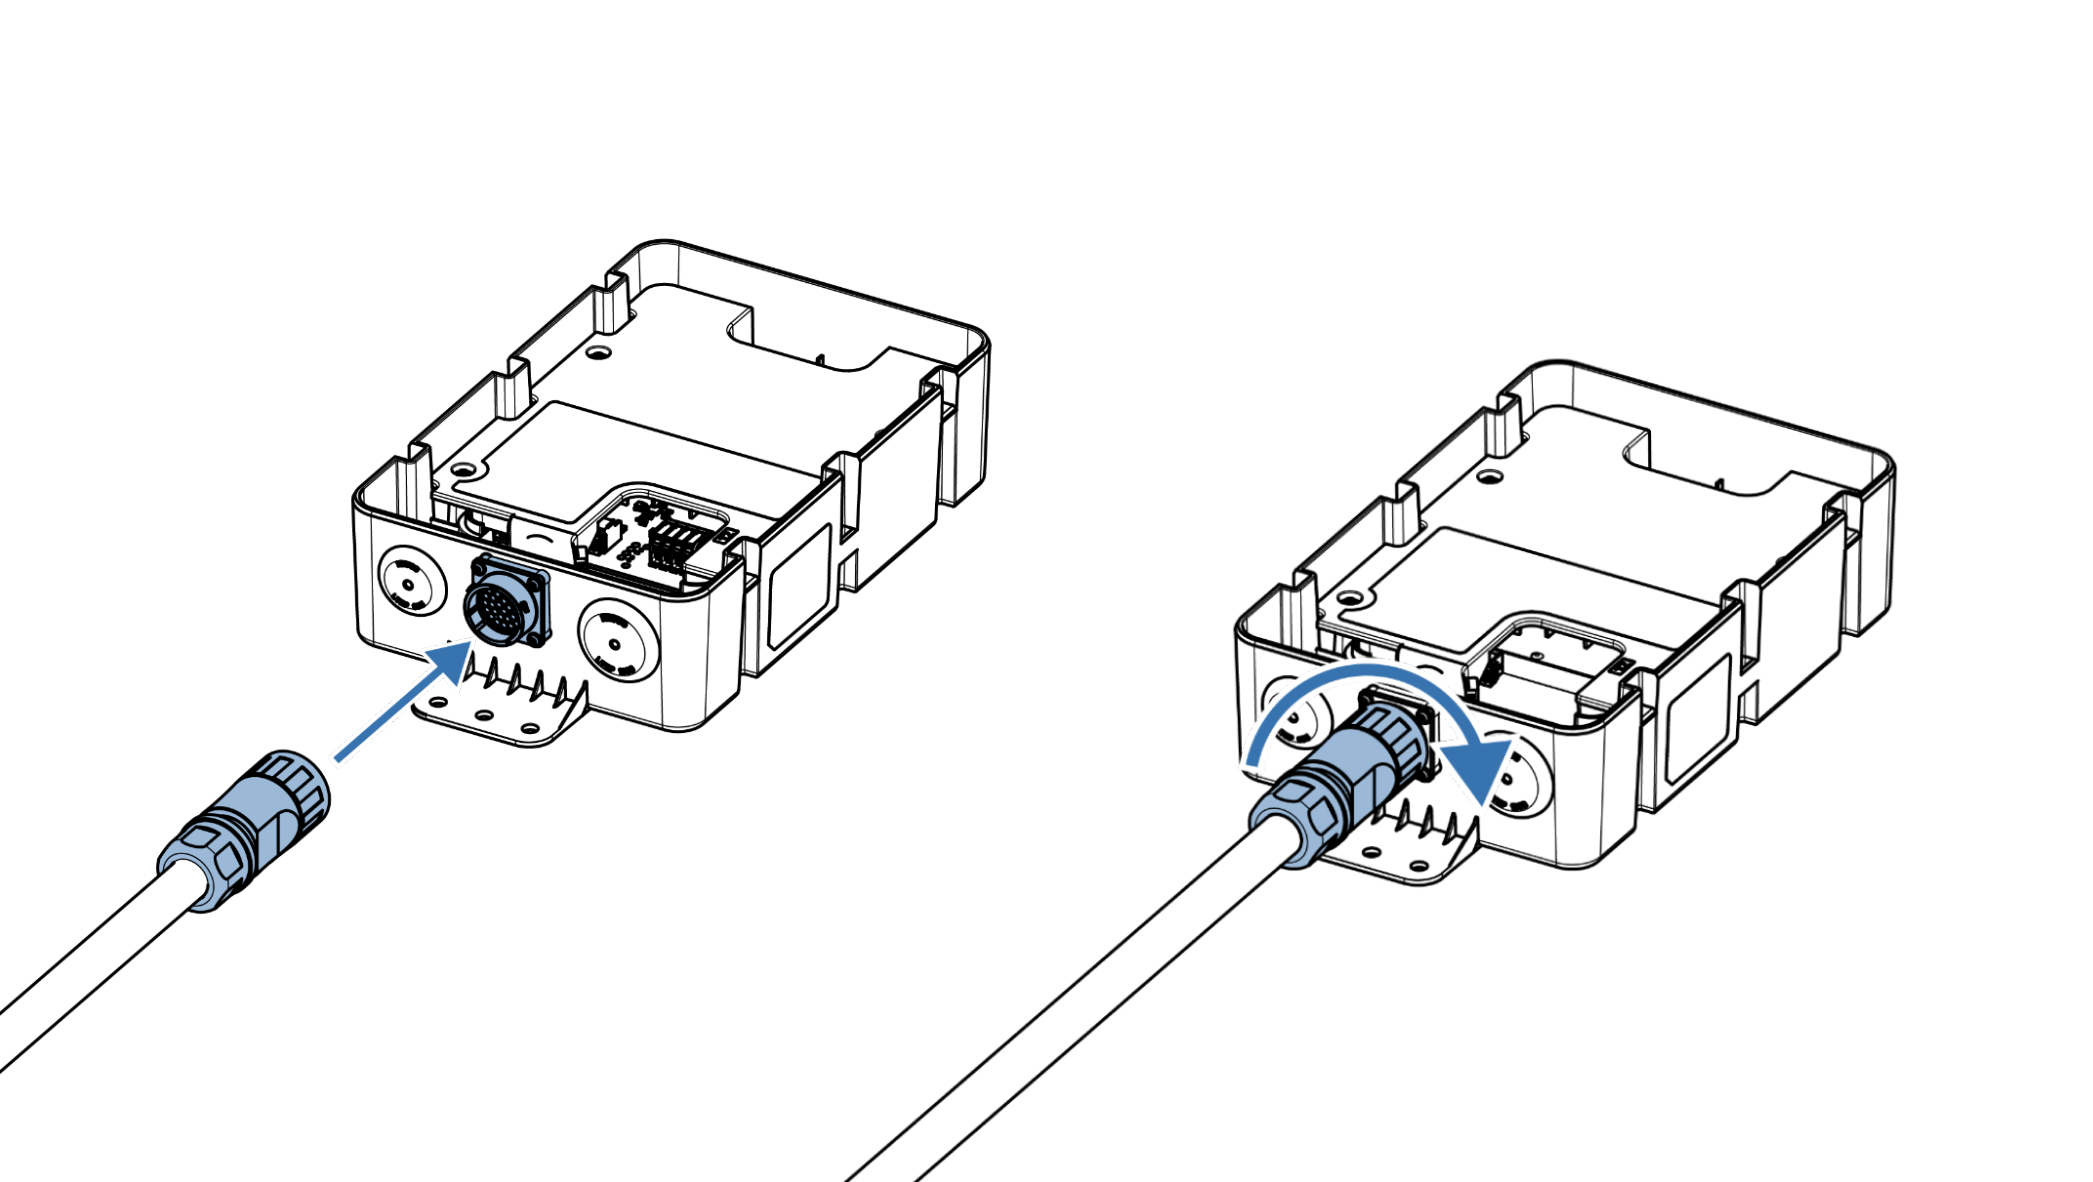 Make sure to fully twist the MSA locking collar clockwise until it **clicks** into the final locked position. Verify it is fully seated past the initial alignment position.
Remove conduit plug from the knockout for the desired inverter wiring entry point.
**Right knockout:** 3/4", **Left knockout:** 1/2"
Make sure to fully twist the MSA locking collar clockwise until it **clicks** into the final locked position. Verify it is fully seated past the initial alignment position.
Remove conduit plug from the knockout for the desired inverter wiring entry point.
**Right knockout:** 3/4", **Left knockout:** 1/2"
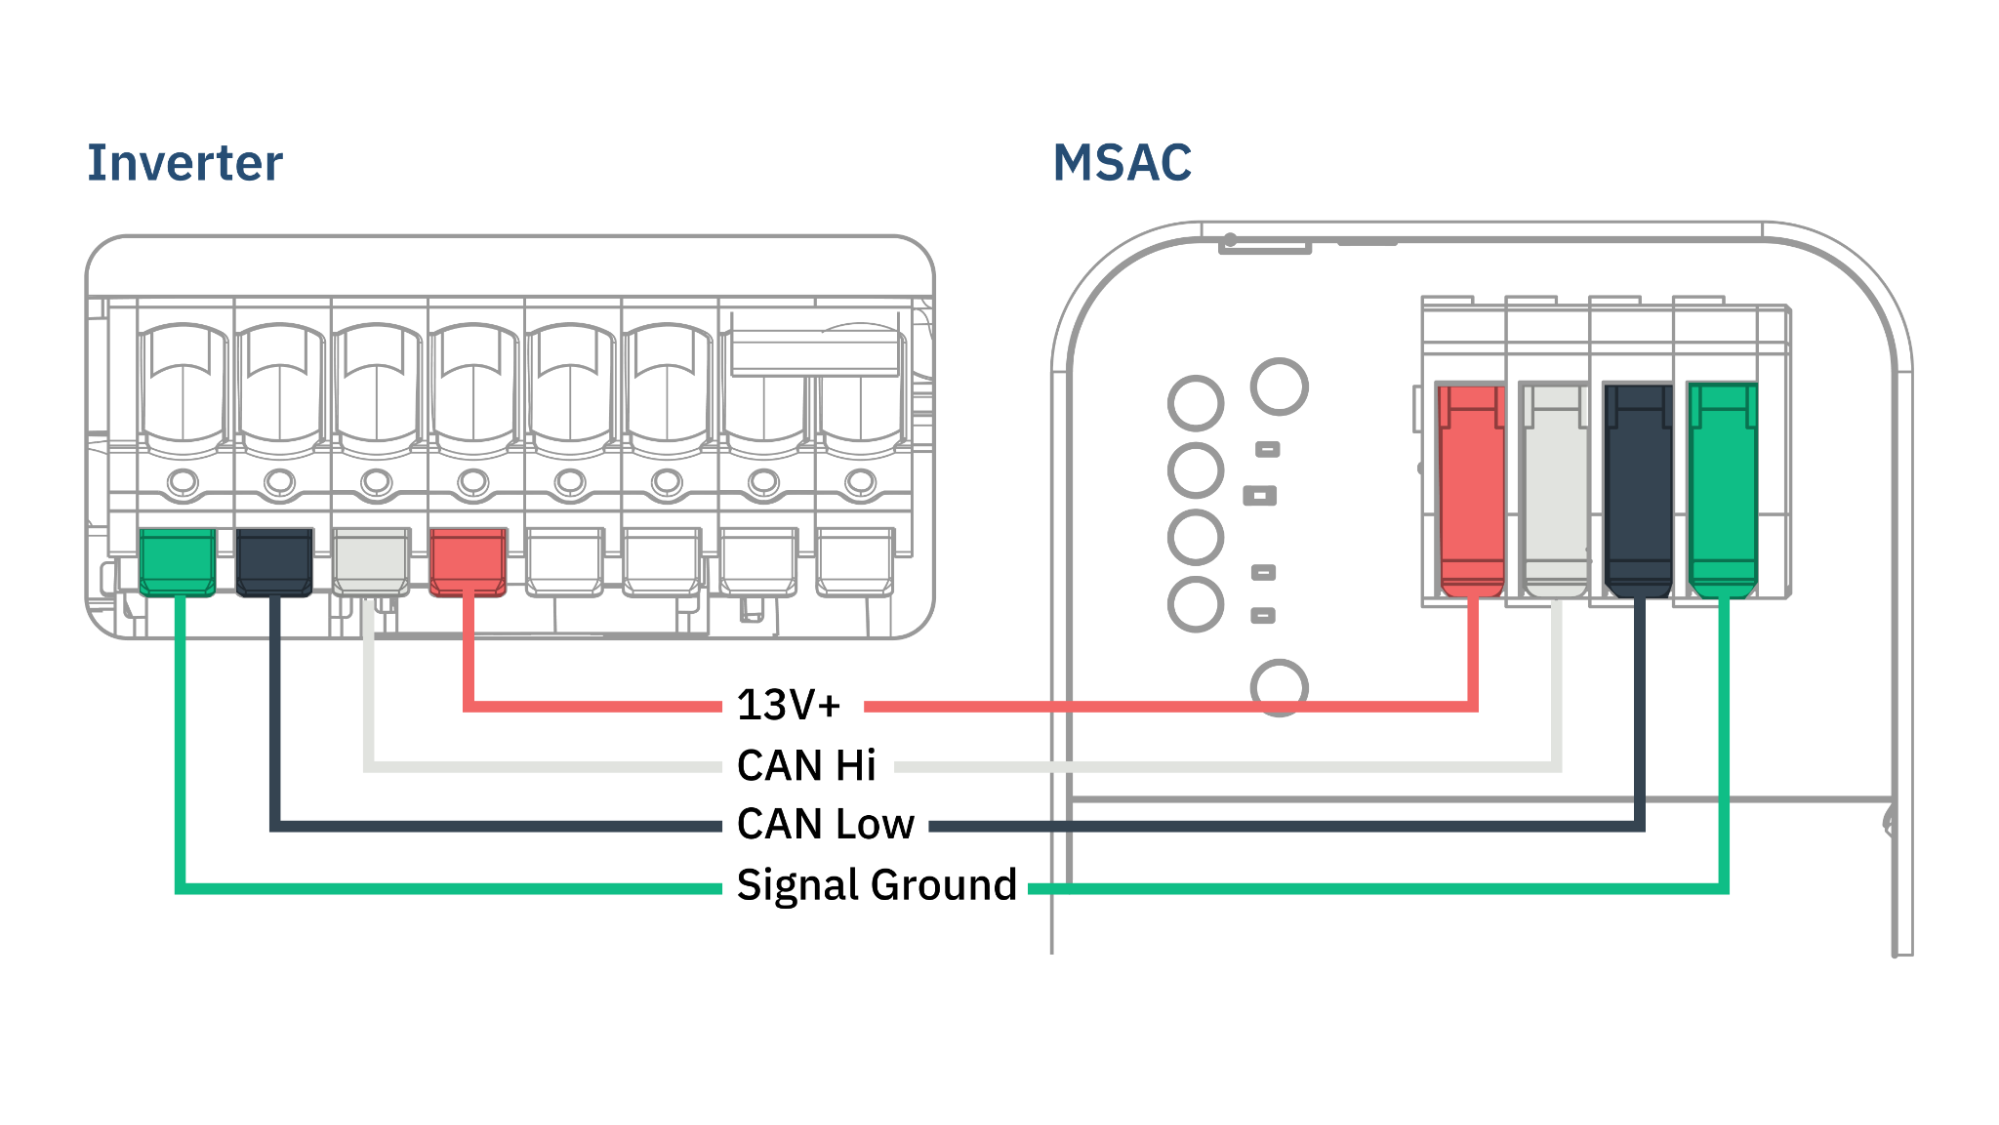
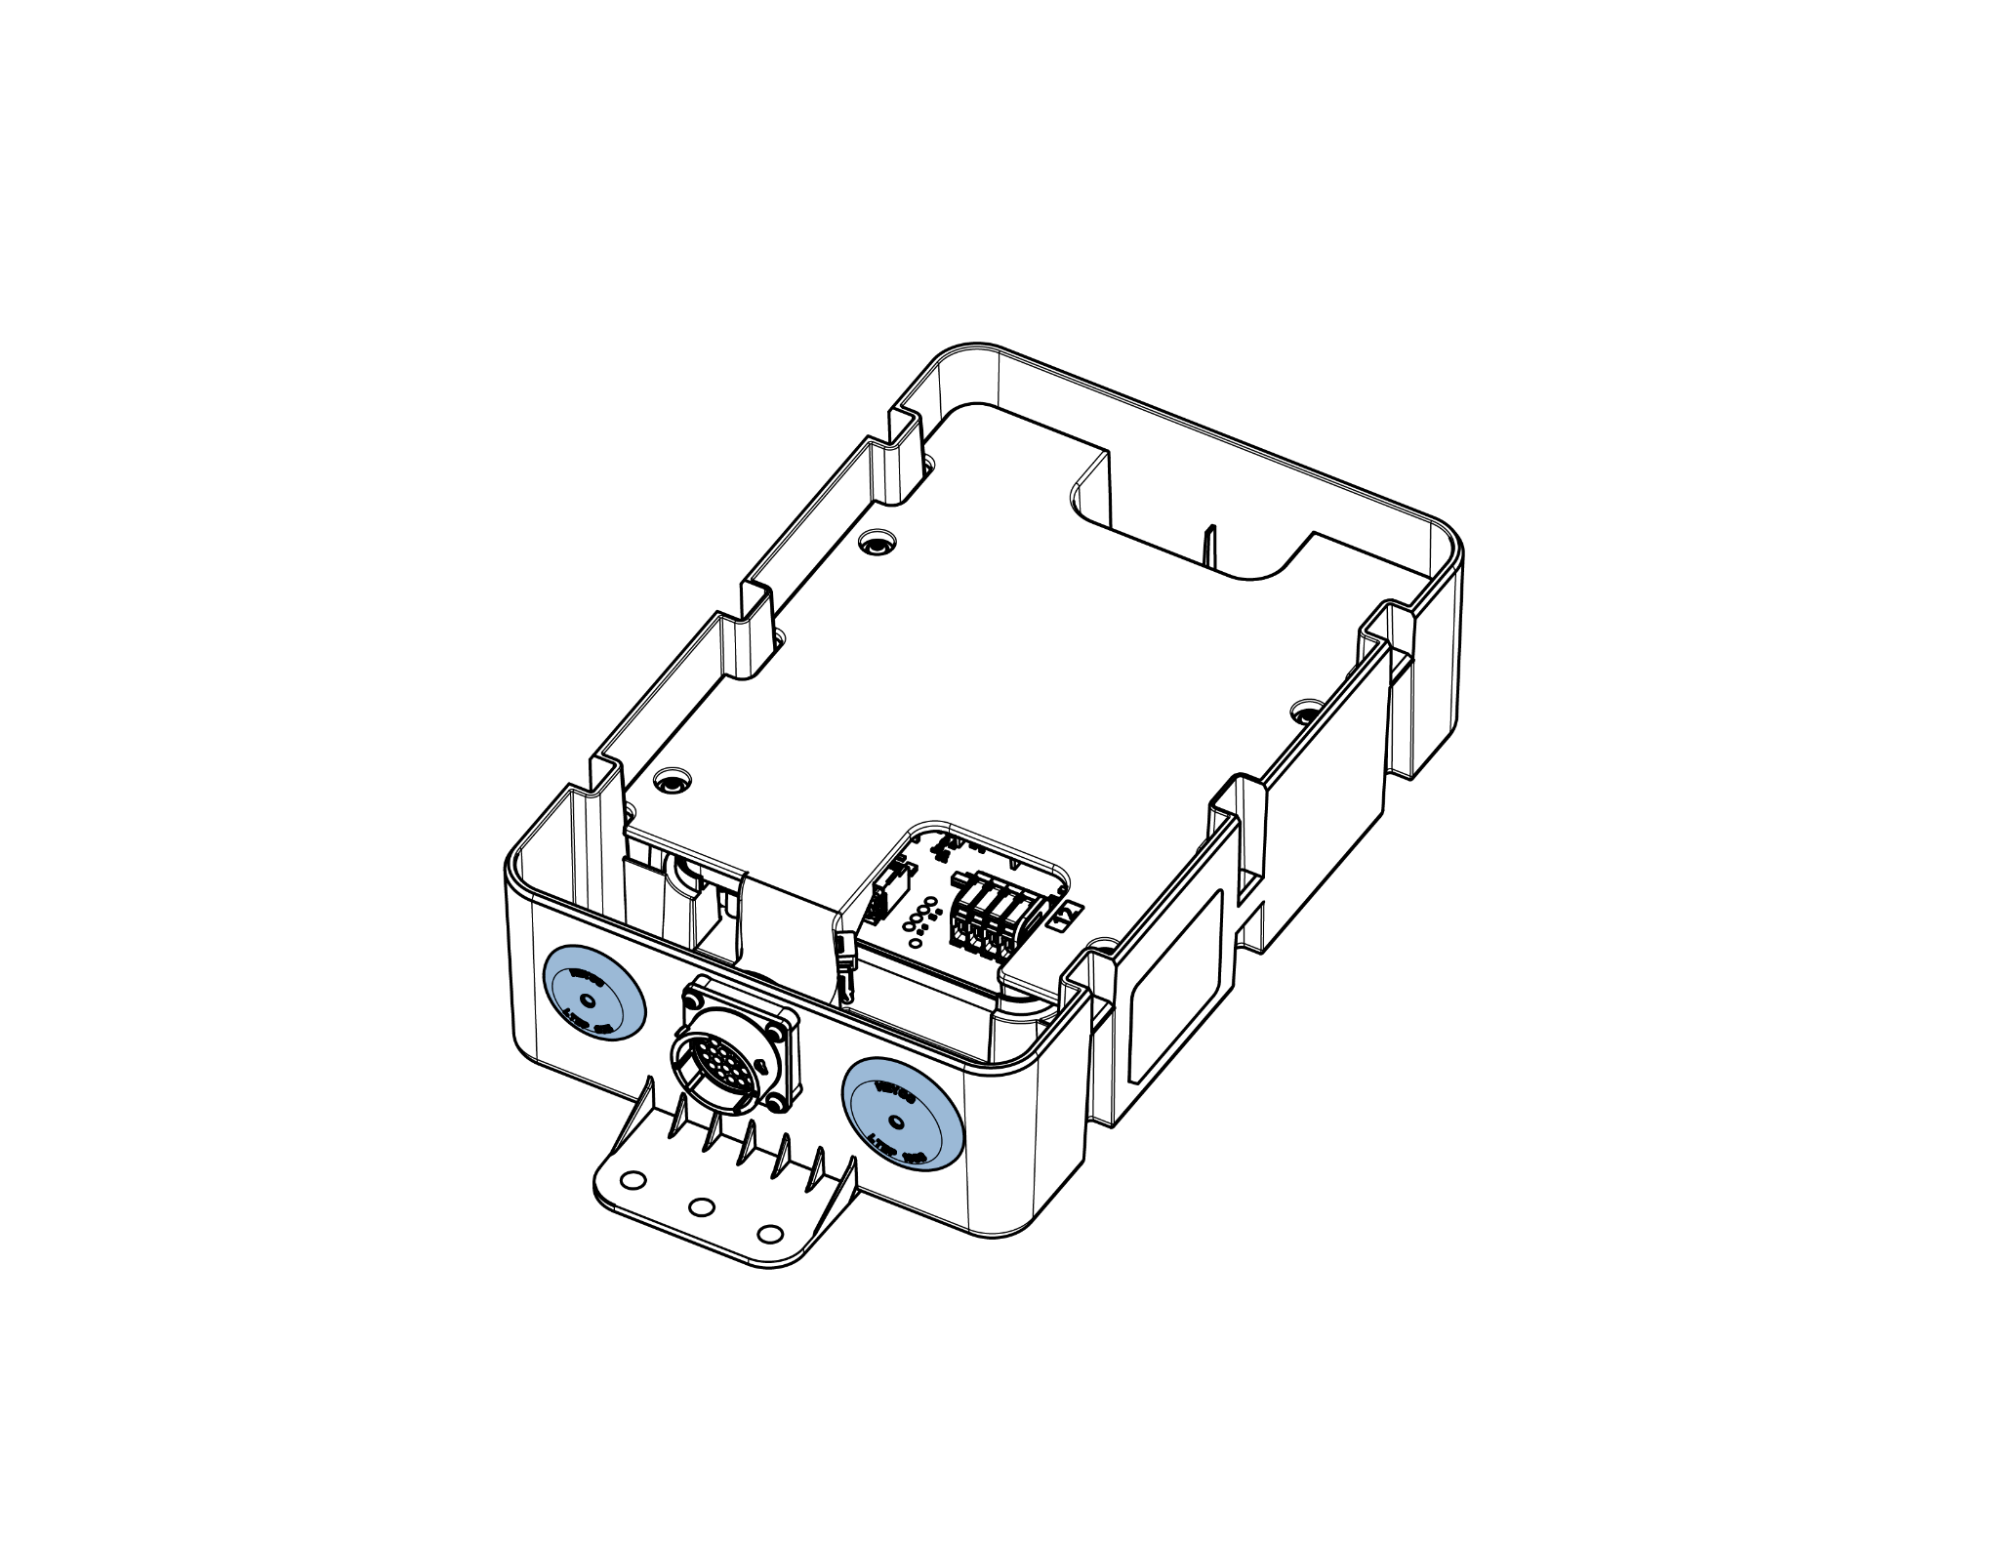 Install the cable gland in the knockout and route inverter communication wires inside the enclosure.
 ## Before You Leave
Connect the MSA cable to the MSA Controller while leaving the MSA unplugged from the meter socket in a waterproof bag. Commissioning can be completed for all tests except for the Backup Test. The system will operate in on-grid mode. Leave system **ON** when leaving.
## Before You Leave
Connect the MSA cable to the MSA Controller while leaving the MSA unplugged from the meter socket in a waterproof bag. Commissioning can be completed for all tests except for the Backup Test. The system will operate in on-grid mode. Leave system **ON** when leaving.